 Save to Pinterest
 There's something quietly magical about making chocolate pudding on a rainy afternoon when you have nothing but time and a craving for something indulgent. I discovered this recipe years ago when a friend casually mentioned she made pudding from scratch instead of a box, and I thought she was either incredibly fancy or had lost her mind. Turns out it takes barely twenty minutes of actual work, and the result tastes like you've been stirring a pot of liquid silk. The first time I made it, I was shocked at how the cocoa powder and cornstarch transform milk into something so velvety that spoonfuls actually feel like dessert, not a step toward dessert.
I made this for dinner guests once who were convinced I'd bought it from some upscale patisserie. When I told them the truth, one of them asked for the recipe immediately, then admitted they'd never considered making pudding at home before. Watching someone's face light up when they realize homemade can be this simple and elegant is honestly better than eating the pudding itself, though the pudding is excellent.
Ingredients
- Whole milk: The foundation that becomes smooth and creamy instead of thin and watery, so don't skimp on using actual whole milk.
- Heavy cream: This is what makes the pudding taste rich and luxurious without needing extra chocolate.
- Unsalted butter: Adds richness and helps the chocolate melt into the mixture silkily.
- Granulated sugar: Just enough sweetness to balance the cocoa without making it taste like chocolate candy.
- Unsweetened cocoa powder: Use good quality cocoa, not the sweet drinking chocolate mix, because you're controlling the sweetness yourself.
- Cornstarch: The secret weapon that thickens the pudding into that perfect spoonable texture without feeling starchy.
- Salt: A tiny pinch that makes the chocolate flavor pop instead of tasting flat.
- Dark chocolate: Chopped into small pieces so it melts completely and distributes evenly through the warm pudding.
- Pure vanilla extract: A small touch that rounds out the chocolate flavor and makes it taste intentional.
Tired of Takeout? 🥡
Get 10 meals you can make faster than delivery arrives. Seriously.
One email. No spam. Unsubscribe anytime.
Instructions
- Whisk the dry ingredients together:
- Combine the sugar, cocoa powder, cornstarch, and salt in a medium saucepan. This step prevents lumps from forming later, so take a moment to make sure everything is evenly mixed.
- Add the milk and cream slowly:
- Whisking constantly, pour the milk and cream in gradually so the dry mixture has time to fully incorporate. If you rush this step, you'll end up with lumps that no amount of later whisking will fix.
- Cook until it thickens:
- Place the saucepan over medium heat and keep whisking as the pudding cooks. You'll notice it thickening after about five minutes, and you want to keep whisking until it bubbles gently and coats the back of a spoon.
- Melt in the chocolate and butter:
- Remove from heat and add the chopped chocolate and butter, then whisk until they're completely melted and the pudding looks smooth and glossy. The residual heat does most of the work here, so you don't need to return it to the stove.
- Add vanilla and pour into serving glasses:
- Stir in the vanilla, then immediately pour the warm pudding into individual cups or glasses. Press plastic wrap directly onto the surface of each one to prevent that thin skin from forming on top.
- Chill until set:
- Refrigerate for at least two hours until the pudding firms up and becomes spoonable rather than pourable. This is when it reaches that perfect texture, though honestly it's good even if you eat it slightly warm.
 Save to Pinterest
 There's a moment when you pull the pudding from the fridge and see it's set perfectly, and that's when you realize you've created something genuinely special with just pantry staples and a little attention. It's the kind of dessert that makes people feel cared for without needing to be complicated.
The Science of Silkiness
The cornstarch is doing all the heavy lifting here, thickening the pudding without making it feel gummy or heavy. When cornstarch heats up in liquid, it releases starch granules that absorb the liquid and create that smooth, creamy texture that makes pudding feel luxurious. The combination of whole milk and heavy cream means the pudding stays rich even as it cools, unlike versions made with just milk that can feel thin once chilled.
Playing with Flavor
Once you master the basic version, this recipe begs for experimentation. I've added a pinch of instant espresso powder before cooking and it deepens the chocolate flavor so it tastes more sophisticated. A splash of coffee liqueur or Bailey's Irish Cream stirred in at the end adds a grown-up dimension that makes the pudding feel special enough for actual dinner guests.
Serving and Storage
Chocolate pudding tastes best served cold and fresh, though it keeps beautifully in the refrigerator for up to three days covered with plastic wrap. The toppings you choose completely change the presentation, so think about what mood you're setting.
- Whipped cream piped on top makes it feel fancy enough for company without requiring extra skill.
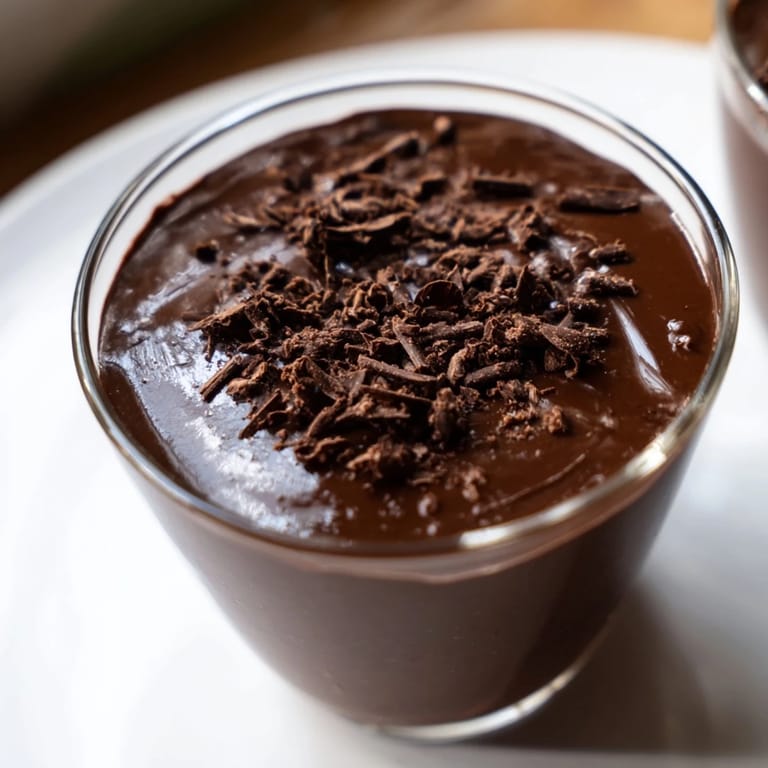
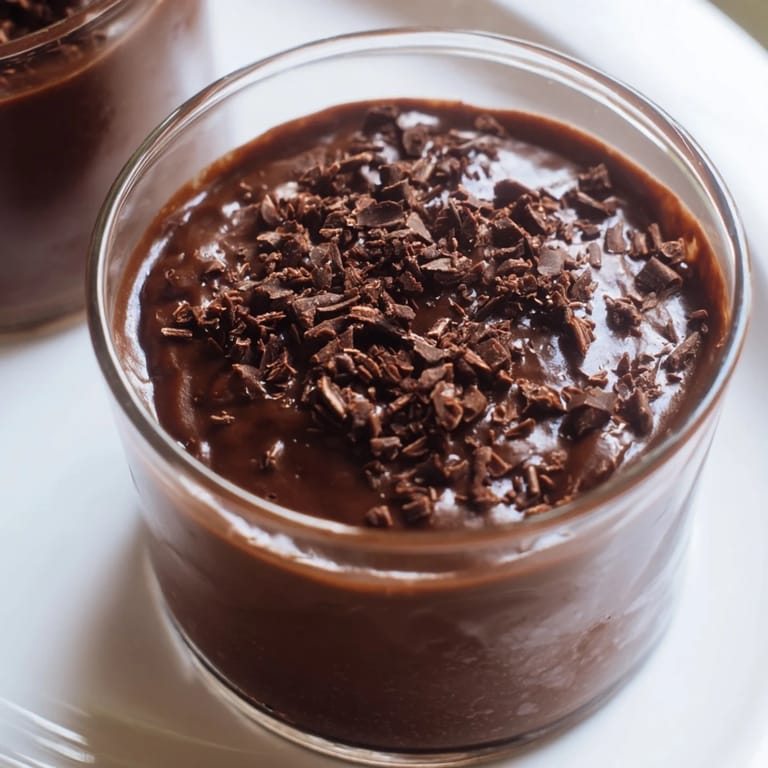
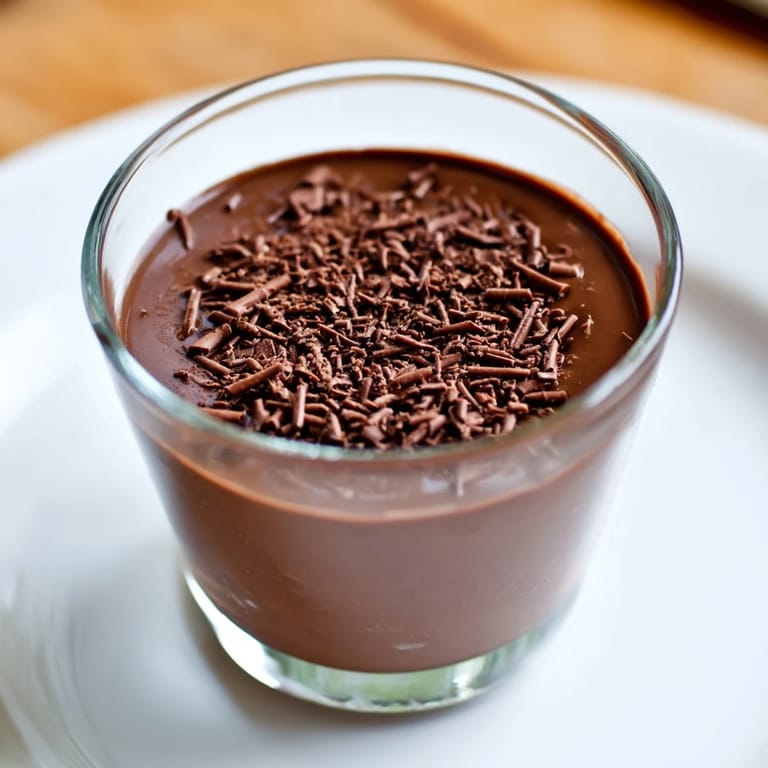
- Chocolate shavings scattered over the surface add elegance and a little texture contrast against the smooth pudding.
- Fresh berries like raspberries or strawberries add brightness and a touch of tartness that balances the richness beautifully.
 Save to Pinterest
 This is the kind of recipe that reminds you why cooking from scratch matters, because there's a world of difference between boxed and real. It's proof that the simplest recipes are often the ones that taste the best.
FAQs About This Recipe
- → What chocolate works best for this dessert?
Dark chocolate with 60–70% cocoa content is ideal as it balances rich flavor with smooth melting qualities, enhancing the dessert's depth.
- → Can I use plant-based milk instead of dairy?
Yes, substitute whole milk and cream with plant-based alternatives and use dairy-free chocolate to keep a similar creamy texture and flavor.
- → How long should the dessert chill for optimal texture?
Chilling for at least 2 hours allows the mixture to set properly, achieving a smooth, firm yet creamy consistency.
- → What tools are necessary to prepare this dish?
A medium saucepan for cooking, a whisk to combine ingredients smoothly, measuring cups, and serving glasses or ramekins are required.
- → Are there ways to enhance the flavor?
Adding a pinch of espresso powder or a splash of liqueur such as Baileys or Grand Marnier with vanilla boosts the dessert's complexity.