 Save to Pinterest
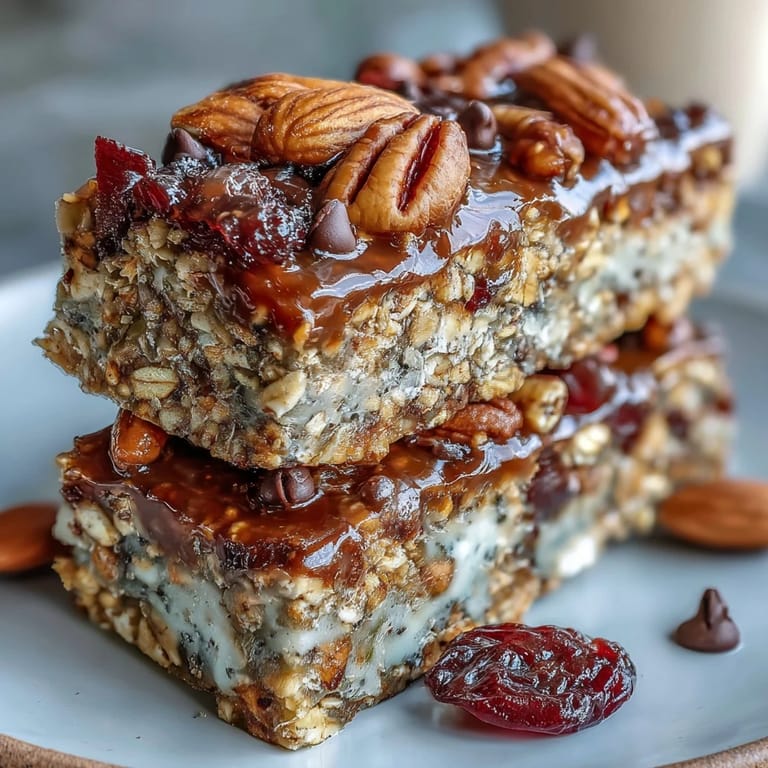
 My neighbor handed me one of these bars last summer during a neighborhood block party, and I remember thinking how something so simple could taste this good without ever seeing the inside of an oven. She mentioned making them on Sunday mornings when the kitchen felt too hot to bake, and suddenly I understood the genius of it—no heat, no fuss, just honest ingredients pressed together and chilled until they became something you'd actually want to grab before a hike. I've been making them ever since, tweaking the mix-ins based on what's lingering in my pantry.
I packed these into my daughter's camping backpack last fall, and she texted me from base camp saying they were the only snack she actually wanted by day two, which felt like the highest compliment a parent could receive. My husband keeps a few in his desk drawer at work, and he's started requesting different flavor combos—last week he asked for extra cranberries and coconut, which tells me these have officially moved beyond snack into comfort food territory.
Ingredients
- Old-fashioned rolled oats: Use the real stuff, not instant—they hold the bars together and give you actual texture you can feel.
- Crisp rice cereal: This adds a subtle crunch that keeps things interesting when you bite through.
- Mixed nuts: Almonds, walnuts, or pecans all work; I chop them myself because store-bought sometimes feel too uniform.
- Dried fruit: Cranberries are my default, but apricots bring a bright sweetness and raisins work if that's what you have.
- Honey or maple syrup: This is your binder; it's what makes these bars actually hold together without baking.
- Peanut butter or almond butter: Choose whichever you reach for first—it adds richness and helps everything stick.
- Vanilla extract: Just a teaspoon, but it rounds out all the flavors in a way that feels polished.
- Optional chocolate chips or seeds: These are the personality; use them if the mood strikes.
Tired of Takeout? 🥡
Get 10 meals you can make faster than delivery arrives. Seriously.
One email. No spam. Unsubscribe anytime.
Instructions
- Set up your stage:
- Line your 8-inch square pan with parchment paper, leaving edges hanging over the sides so you can lift the whole thing out later without it falling apart. This single step saves you from scraping and cursing.
- Combine the dry team:
- Toss the oats, cereal, nuts, dried fruit, coconut, and salt into a large bowl and give everything a good mix so nothing is hiding at the bottom. You're creating an even base here, which matters more than you'd think.
- Warm the binding magic:
- Heat the honey and peanut butter together in a small saucepan over low heat, stirring until smooth and pourable—this takes about 2 to 3 minutes. Remove from heat and add the vanilla, letting the warmth carry the scent through your kitchen.
- Bring it together:
- Pour that warm mixture over your dry ingredients and stir until everything glistens and holds together when you squeeze it. This is the moment it stops looking like separate things and becomes bars.
- Handle chocolate carefully:
- If you're using chocolate chips, let the mixture cool for 2 to 3 minutes first, then fold them in gently so they don't melt into the mixture completely. You want little pockets of chocolate, not chocolate-flavored bars.
- Press into the pan:
- Transfer your mixture to the lined pan and use a spatula or the back of a measuring cup to press everything down firmly and evenly. This creates bars that hold together when you bite into them instead of crumbling.
- Dress the top:
- Sprinkle extra chocolate chips or nuts on top if you want them, pressing gently so they stick without much effort.
- Set it and forget it:
- Refrigerate for at least an hour until the bars feel firm and set when you press them. You can do overnight if you want; they're patient.
- Cut and store:
- Use the parchment overhang to lift the whole slab out, then cut into 12 bars with a sharp knife, wiping the blade between cuts if chocolate sticks. Keep them in an airtight container in the fridge for up to a week.
 Save to Pinterest
 These bars showed up at my book club last month, and within ten minutes they were gone while the actual cookies I'd stressed over sat untouched—that's when I realized food isn't just about ingredients, it's about being the kind of snack someone actually reaches for. There's something deeply satisfying about serving something you made with your own hands, even when the most technical thing you did was heat something on low.
Flavor Combinations That Actually Work
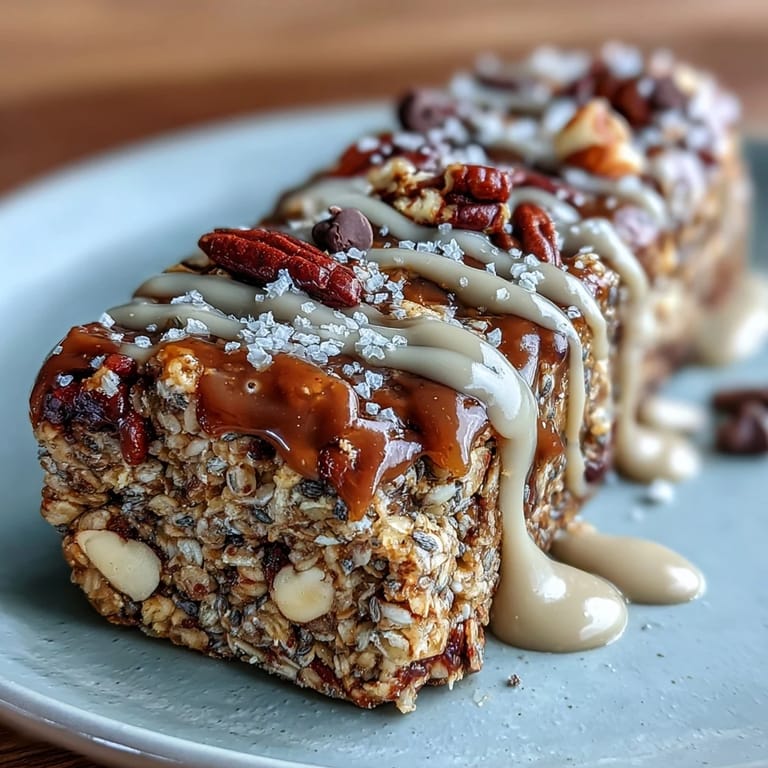
After several rounds of experimentation, I've learned that certain flavor pairings just sing together. Cranberries and coconut feel tropical and bright, while apricots with cinnamon added to the dry mix bring autumn warmth even in summer. Walnuts and raisins feel classic and buttery, and if you're feeling adventurous, a touch of cardamom or even a pinch of sea salt on top creates complexity that makes people pause mid-bite and ask what the secret ingredient is.
Customizing Without Losing Your Way
The beauty of these bars is that they're forgiving enough for experimentation. You can swap the peanut butter for sunflower seed butter if nuts aren't in your world, or use maple syrup instead of honey for a different depth. The rice cereal keeps things light, but you could trade half of it for buckwheat or quinoa flakes if you wanted something nuttier—the structure stays solid as long as you keep the wet-to-dry ratio roughly the same.
Beyond the Basic Snack
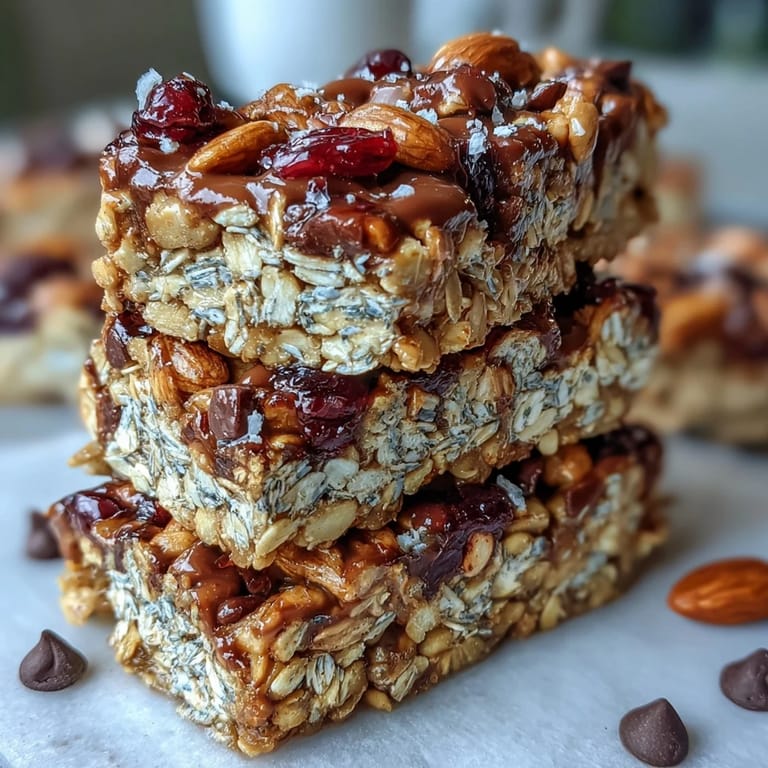
These bars have become my default grab when I need something that feels substantial but doesn't weigh you down. I've packed them into camping trips, office lunches, and even brought them to potlucks where people ask for the recipe thinking there's some complicated technique involved. Here's what makes them work in real life:
- They travel beautifully without getting crushed or melting, which makes them ideal for backpacks and lunchboxes.
- They satisfy both the sweet craving and the hunger that snacks usually only hint at.
- You can make a batch on a lazy Sunday and eat well all week without thinking much about it.
 Save to Pinterest
 These bars remind me that sometimes the most reliable recipes are the quiet ones, the ones that don't demand attention but show up faithfully in your lunch bag and make the day a little better. Make them once, and you'll understand why they became my go-to instead of my fancy baked goods.
FAQs About This Recipe
- → How do I keep the bars from sticking to the pan?
Line the baking pan with parchment paper with some overhang to lift the bars easily once chilled.
- → Can I use different nuts in the bars?
Yes, feel free to swap mixed nuts for your favorites like almonds, walnuts, or pecans for varied flavor and texture.
- → What binds the bars without baking?
Honey or maple syrup combined with peanut or almond butter creates a sticky mixture that holds everything together once chilled.
- → How long should I chill the bars before cutting?
Refrigerate the pressed mixture for at least one hour to ensure the bars firm up and hold their shape when sliced.
- → Are there vegan alternatives for these bars?
Yes, use maple syrup in place of honey and dairy-free chocolate chips or omit them for a vegan-friendly option.