 Save to Pinterest
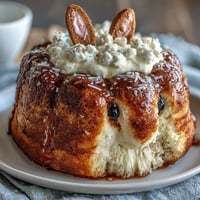
 My daughter came home from school with a sketch of an Easter bunny she wanted on her birthday cake, and I realized I had exactly two weeks to figure out how to make one that wouldn't look like a lopsided accident. Turns out, a round cake and one strategic cut later, you've got ears. The coconut frosting was pure serendipity—I'd made it once for a tropical birthday party and suddenly it felt like the perfect fluffy coat for a bunny made of cake.
Last Easter, I made this for a neighborhood gathering and watched a five-year-old stare at it for a full minute before asking if it was real. His mom laughed and said he'd never seen food look quite so alive, which honestly made the three hours of decorating feel like the best investment of time. When families kept coming back to the dessert table just to look at it again before taking a slice, I understood the quiet power of making something beautiful.
Ingredients
- All-purpose flour (2 ½ cups): The foundation that keeps your cake tender without being dense—make sure it's fresh because old flour absorbs more liquid and throws off your texture.
- Baking powder (2 ½ tsp): This is what gives you that gentle rise and the soft crumb that holds together when you're cutting and stacking.
- Salt (½ tsp): A small amount that brightens vanilla flavor and balances sweetness so the cake doesn't taste one-dimensional.
- Unsalted butter (1 cup, softened): Room temperature butter creams better and incorporates air, which is the secret to a light and fluffy crumb.
- Granulated sugar (2 cups): Softens the gluten structure and keeps the cake moist, plus it creams beautifully with butter to trap tiny air bubbles.
- Eggs (4 large): They bind everything together and add richness—add them slowly so they emulsify properly and don't make the batter split.
- Pure vanilla extract (1 tbsp): The backbone of vanilla cake flavor, and pure extract makes a noticeable difference in how delicate the taste becomes.
- Whole milk (1 cup): The moisture that keeps layers tender, and whole milk adds richness that low-fat versions simply can't deliver.
- Unsalted butter for frosting (1 cup, softened): Creaming this with powdered sugar creates that dreamy, spreadable texture that holds peaks without being overly stiff.
- Powdered sugar (4 cups, sifted): Sifting matters here—lumps get caught between your frosting and cake and create gritty texture.
- Milk for frosting (¼ cup): Adjusts the consistency so your frosting spreads smoothly without being greasy.
- Vanilla extract for frosting (1 ½ tsp): A second hit of vanilla that prevents frosting from tasting one-note.
- Sweetened shredded coconut (2 cups): The signature ingredient that makes this frosting feel tropical and special—the toasted version adds deeper flavor if you're willing to skip ahead a step.
- Pink food coloring: Gel coloring is more vibrant than liquid and won't thin your frosting the way liquid dye does.
- Jelly beans or candy-coated chocolate eggs: Choose candies that won't bleed color into your frosting and feel sturdy enough for decorating.
- Licorice strings: They stay flexible and photograph beautifully as whiskers.
- Mini marshmallows: Soft, forgiving, and kid-friendly decorations that won't crack or shatter.
- Black edible gel or chocolate chips: Gel gives sharper detail if you're feeling precise, but chips work just as well for a more playful look.
Tired of Takeout? 🥡
Get 10 meals you can make faster than delivery arrives. Seriously.
One email. No spam. Unsubscribe anytime.
Instructions
- Set yourself up for success:
- Preheat your oven to 350°F and grease both 9-inch pans generously, then dust them with flour so your cakes release cleanly. Make sure your butter and eggs are at room temperature because cold ingredients don't cream properly and you'll end up with a denser crumb.
- Build your dry ingredients:
- Whisk flour, baking powder, and salt together in one bowl so they're evenly distributed before they meet the wet mixture. This prevents pockets of baking powder that can create weird bitter spots in your cake.
- Cream butter and sugar into clouds:
- Beat them together for a full three minutes until the mixture looks pale and fluffy—you're literally whipping tiny air bubbles into the butter that will help your cake rise gently. This step is where a handheld mixer honestly does the same job as a stand mixer, just takes a little longer.
- Add eggs with patience:
- Drop in one egg, beat until you can't see the yellow anymore, then add the next one—rushing this step means the mixture might break and separate into a greasy soup. After all four eggs are in, mix in your vanilla and take a moment to admire how emulsified and glossy everything looks.
- Alternate wet and dry in three additions:
- Start with flour, then milk, then flour, then milk, then flour—always ending with flour so you're not left with a wet batter that might slip. Mixing until just combined prevents overworking the gluten, which keeps your cake tender instead of rubbery.
- Bake with confidence:
- Divide batter evenly between pans and bake for 30-35 minutes until a toothpick inserted in the center comes out clean with maybe one crumb. The cakes will pull slightly away from the sides when they're done, which is your visual cue.
- Cool with patience:
- Let them sit in the pans for 10 minutes so they set up enough to handle, then turn them out onto a wire rack to cool completely—still warm cakes crumble when you try to cut them. This is a good time to scroll through phone or prep your frosting bowls.
- Make frosting that spreads like velvet:
- Beat softened butter until it's creamy and pale, then add powdered sugar a little at a time so it doesn't poof up into your face. Once it's combined, add milk and vanilla and keep beating for another minute or two until it's light and fluffy enough to hold soft peaks.
- Tint half your frosting gently:
- Scoop ½ cup of white frosting into a separate bowl and add pink food coloring one drop at a time, mixing until you reach the shade you want. It's easier to add more color than to lighten it back down.
- Assemble your bunny shape:
- Take one cooled cake and cut it strategically—one round stays as the face, and the other gets cut into two ear shapes and a bow tie (imagine drawing bunny ears on the circle before you cut). Arrange everything on a large board or platter with the face in the center, ears above, and bow tie below.
- Crumb coat like a pro:
- Spread a thin layer of white frosting over the entire cake structure to seal in crumbs, then chill for 15 minutes so your final layer of frosting goes on smooth and clean. This step feels tedious but it's the difference between a polished look and a rustic one.
- Go generous with the final frosting:
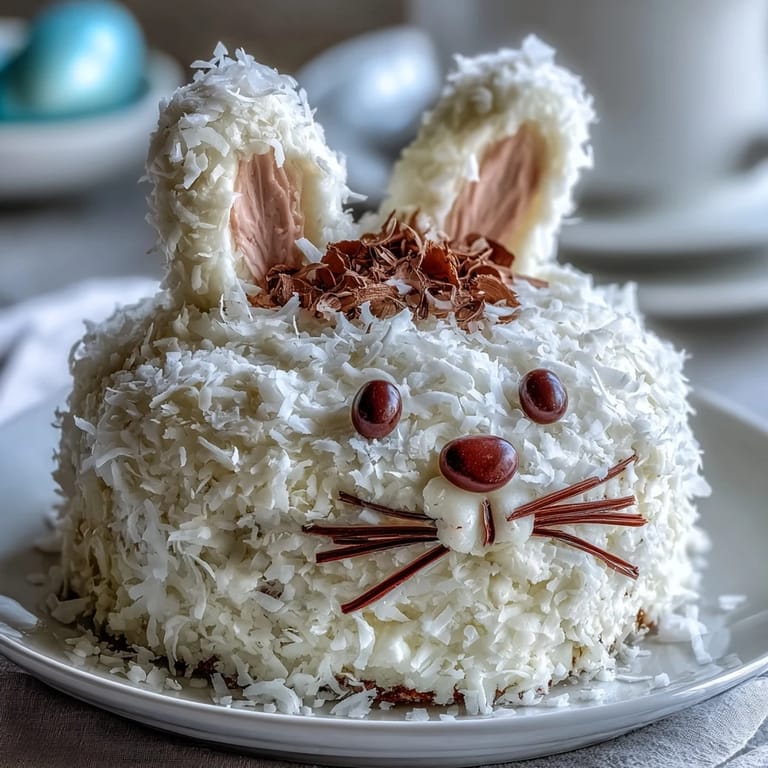
- Frost everything with a thick, generous layer of remaining white frosting, making swoops and peaks that look inviting. Immediately press shredded coconut over every frosted surface while the frosting is still sticky so it adheres and creates that fluffy bunny texture.
- Decorate with intention:
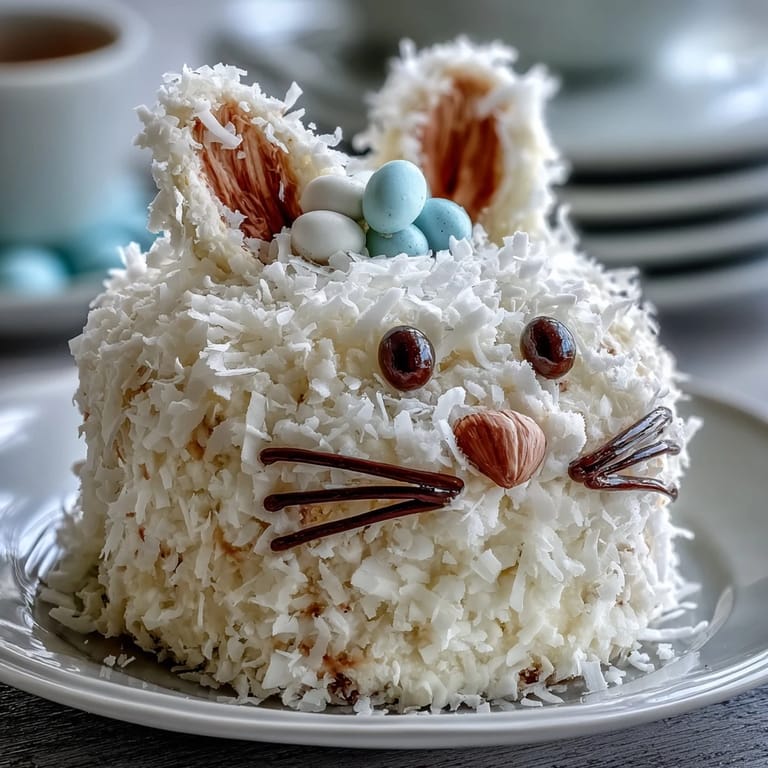
- Use your pink-tinted frosting to fill in the inner ears and nose, then arrange jelly beans or candies for eyes, add chocolate chips or gel for a nose, lay down licorice strings for whiskers, and place mini marshmallows for cheeks and a fluffy tail. Step back and look at it from different angles—you might want to adjust positioning before serving.
 Save to Pinterest
 There's something quietly magical about serving a cake that people want to photograph before they eat it, knowing it's something you made with your hands in your own kitchen. That bunny cake turned into an Easter tradition because it reminded everyone that celebration food doesn't have to be complicated to be memorable—it just has to be made with a little creativity and a whole lot of coconut.
Why Coconut Frosting Changes Everything
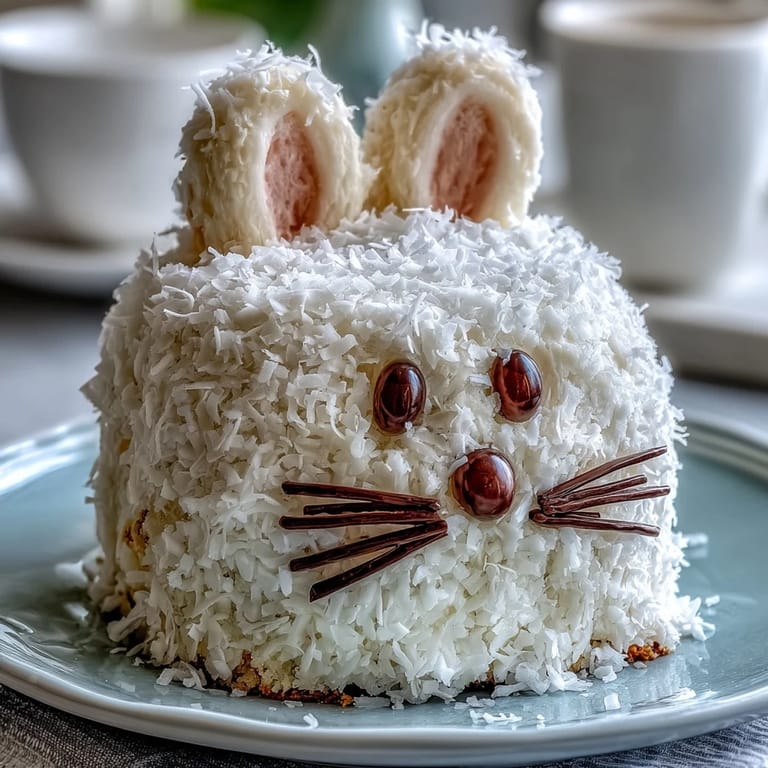
Coconut frosting sits somewhere between buttercream and something more elegant, with a texture that's impossibly fluffy and a flavor that feels summery even in spring. The shredded coconut pressed into the frosting creates actual dimension instead of a smooth finish, so your bunny looks textured and alive. I've tried swapping in cream cheese frosting for tanginess and it works, but the coconut version is what makes people ask for the recipe immediately.
Cutting Your Bunny Template
The bunny shape is way less intimidating than it sounds—you're basically making one smart cut and then arranging pieces on a board. I use a serrated knife and a cake sketch drawn on cardboard as my guide, but honestly, once you've cut the ear shapes, the bow tie falls naturally from what's left. The rough edges become charming once they're frosted and coconut-covered, so don't stress about perfection.
Make Ahead and Timing
If you're making this for an Easter gathering, baking the cake layers a day ahead saves you enormous stress on the day-of and actually gives you time to think about decoration details. The frosting can be made the morning of and kept in an airtight container, and the actual assembly happens about two hours before serving so the frosting sets slightly and the candy decorations stick properly.
- Bake cake layers up to 24 hours ahead and store them tightly wrapped at room temperature.
- Make frosting up to 8 hours ahead and refrigerate, then bring to spreading consistency by letting it sit at room temperature for 15 minutes.
- Assemble the final bunny 2-3 hours before serving so everything has time to set and look intentional.
 Save to Pinterest
 This bunny cake lives in that sweet spot where impressive looks meet approachable technique, which means you get to feel like a baker without spending all day in the kitchen. Make it once and it becomes the tradition everyone shows up early for.
FAQs About This Recipe
- → What type of flour is best for this cake?
All-purpose flour provides the ideal structure and texture for the soft vanilla layers in this cake.
- → How is the coconut frosting prepared?
The frosting is made by beating softened butter with powdered sugar, whole milk, and vanilla extract until light and fluffy, then mixing in shredded coconut for texture.
- → How do I shape the cake into a bunny?
After baking and cooling, one round cake is cut to form the ears and bow tie, arranged along with the face layer on a board before frosting and decorating.
- → Can the cake be made ahead of time?
Yes, the cake layers can be baked a day in advance and stored wrapped tightly to maintain freshness before assembly.
- → What are good drink pairings for this cake?
Light Moscato or lemonade complement the cake's sweet and tropical flavors, enhancing the festive experience.